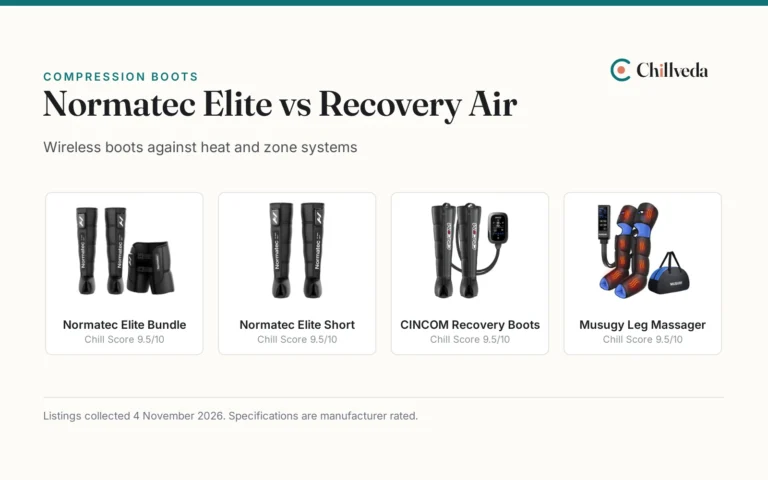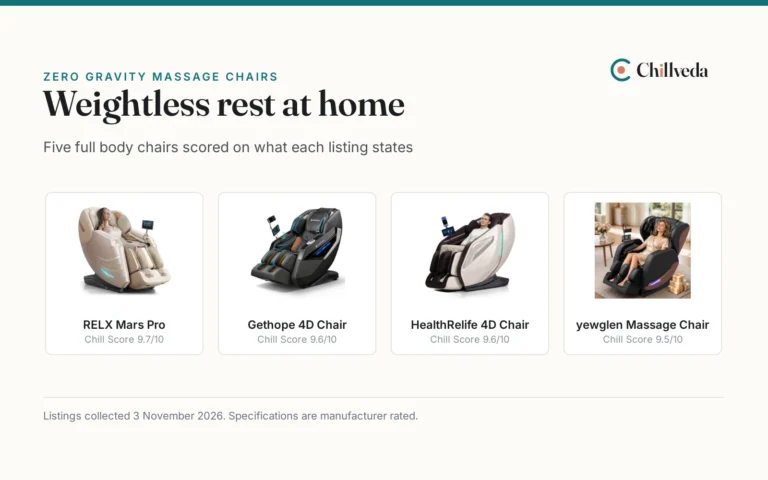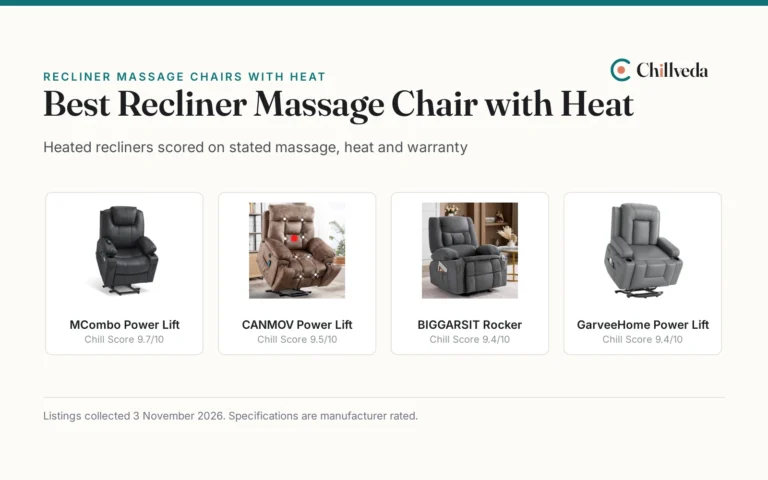
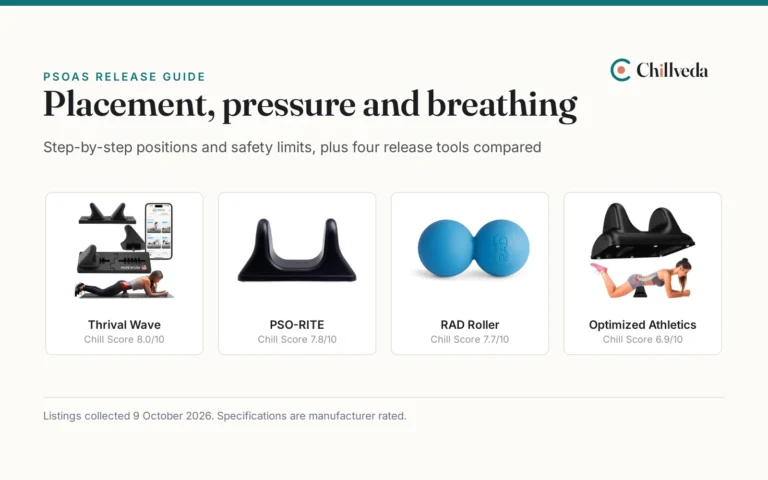
To answer how to use psoas release tool devices correctly: lie face down on a firm floor, place one peak between your hip bone and navel, and gently lower your body weight onto the tool while breathing deeply. Maintain steady pressure without moving for 5 to 60 seconds as the PSO-RITE listing recommends, and never press directly against bone, pulsing arteries, or the spine. Starting with partial body weight supported on your forearms allows your deep hip flexors to relax before applying full pressure.
This guide sets out safe body positioning, breathing control, stated maker pressure guidelines, and how four distinct recovery tools compare on published specifications. Listings were collected 9 October 2026.
This article is informational and is not medical advice. Manual pressure tools apply intense local force to deep tissue. Avoid direct pressure on the neck, spine, abdominal aorta, femoral arteries, or acute injuries, and consult a doctor before using a massage apparatus. Stop immediately if you feel sharp pain, numbness, or a pulsing sensation. See our Medical Disclaimer.
Chillveda earns a commission when you buy through links on this page, at no extra cost to you. As an Amazon Associate I earn from qualifying purchases. Affiliate disclosure.
Quick picks
-
1
 Thrival Wave, Adjustable Psoas Muscle Release Chill Score 9.6/10Check price on Amazon
An adjustable psoas release board with five head positions per side and interchangeable massage tips.
-
2
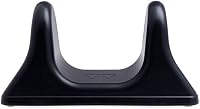 PSO-RITE Psoas Muscle Release Tool – Made in USA Chill Score 9.6/10Check price on Amazon
A patented rigid ABS release tool with two fixed peaks spaced 6.3 inches apart, made in the USA.
-
3
 RAD Original Peanut Massage Ball Chill Score 9.6/10Check price on Amazon
A medium-density silicone peanut roller designed to grip skin and provide gentler myofascial release.
-
4
 Optimized Athletics Psoas Release Tool I Chill Score 9.4/10Check price on Amazon
A manual ABS hip hook and psoas release wedge designed for targeted floor pressure.

An adjustable psoas release board with five head positions per side and interchangeable massage tips.
Pros & ConsViewHide
Pros
- Five placement settings per side
- Interchangeable hand, elbow, and thumb heads
- Heads lock firmly into release board
- Includes step-by-step manual for targeted muscles
Cons
- No warranty term is stated
- Soft elastomer covers sold separately
- Largest footprint here at 16.13 inches long
- Spec table misidentifies form as massage roller
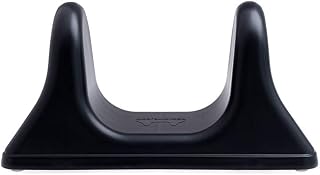
A patented rigid ABS release tool with two fixed peaks spaced 6.3 inches apart, made in the USA.
Pros & ConsViewHide
Pros
- Patented dual-peak design made in USA
- Clear 5 to 60 second positioning guideline
- Durable Acrylonitrile Butadiene Styrene build
- Weighs 1.15 pounds for easy transport
Cons
- No warranty term is stated
- Fixed 6.3 inch peak spacing cannot be adjusted
- Spec table lists percussion and massage ball
- Rigid plastic surface offers no give

A medium-density silicone peanut roller designed to grip skin and provide gentler myofascial release.
Pros & ConsViewHide
Pros
- Solid silicone build wipes clean and is waterproof
- Gentler medium density for sensitive areas
- Lightest option here at 12 ounces
- Over 20 targeted muscle applications listed
Cons
- No warranty term is stated
- 2.5 inch height gives less penetration than tall wedges
- Listing shows conflicting dimensions
- Not shaped specifically for deep iliopsoas targeting

A manual ABS hip hook and psoas release wedge designed for targeted floor pressure.
Pros & ConsViewHide
Pros
- Hook and wedge profile targets hip flexors
- Durable Acrylonitrile Butadiene Styrene body
- Lightweight design at 1.1 pounds
- Advises 20 second back sessions and cautious psoas pressure
Cons
- No warranty term is stated
- Spec table falsely lists heat as a feature
- Spec table lists brand as UYHKVXF
- Listing claims rolling and scraping techniques
More to compare
 COZLOW Psoas Release Massage Tool for Back & Hip FlexorCheck price on Amazon
 Aletha Original Hip Hook Psoas & Iliacus Hip Flexor ReleaseCheck price on Amazon
 Hip HookCheck price on Amazon
 Psoas Release ToolCheck price on Amazon
 Thrival Deep Tissue ProCheck price on Amazon
 Thrival Relief ProCheck price on Amazon
Psoas release tool specifications by maker
| Tool | Form factor | Material | Stated dimensions | Weight | Stated session duration |
|---|---|---|---|---|---|
| Thrival Wave | Adjustable board | ABS Plastic | 16.13 x 5.5 x 6 in | 1.6 lb | Not stated |
| PSO-RITE | Dual-peak wedge | Acrylonitrile Butadiene Styrene | 10.7 x 5 x 5.3 in | 1.15 lb | 5 to 60 seconds |
| RAD Roller | Peanut roller | Silicone | 2.5 x 2.5 x 4.88 in | 12 oz | Not stated |
| Optimized Athletics | Hook and wedge | Acrylonitrile Butadiene Styrene | 10.28 x 7.2 x 6.06 in | 1.1 lb | 20 seconds on back |
The listings show two distinct approaches to psoas release. Dedicated rigid wedges like PSO-RITE and Optimized Athletics use tall fixed profiles of 5.3 to 6.06 inches in Acrylonitrile Butadiene Styrene to reach deep tissue beneath abdominal layers, whereas Thrival Wave uses an adjustable 16.13 inch board with five positions per side. In contrast, the RAD Roller relies on a 2.5 inch silicone peanut shape, offering whole-body utility with less vertical height.
Understanding how pressure releases deep tissue
Makers describe psoas release tools as manual compression devices designed to mimic the shape of a massage therapist’s elbow, hand, or thumb. The PSO-RITE listing states that pressure releases muscle tissue in the human body, targeting the psoas complex in the hip flexor region. Because the psoas sits deep behind abdominal organs, rigid wedge tools rely on body weight pressing into a raised contact point rather than motor-driven percussion.
Using a peanut roller or a static wedge produces different mechanical contact. A silicone peanut roller brackets surrounding musculature and grips the skin, while rigid plastic points apply focused pressure to individual trigger points. For broader hip and back work, our peanut massage ball for back guide reviews similar dual-sphere tools.
How to use psoas release tool step by step
Positioning a deep tissue tool in the abdominal area requires precision and care. Follow these six steps to target the hip flexors safely:
- Prepare a firm surface. Place a yoga mat on a solid floor. A soft mattress absorbs the tool’s base and destabilizes the angle, preventing accurate contact.
- Identify the anatomical landmark. Locate the anterior superior iliac spine (the bony front point of your hip crest) and your navel. The target zone lies inside that hip crest, well away from the midline of your abdomen where major blood vessels pulse.
- Position one peak. Set the tool on the floor and align one peak with the target zone on one side of your body. The PSO-RITE listing specifically recommends using one peak at a time on each psoas muscle rather than trying to compress both sides simultaneously.
- Regulate your body weight. Lie face down while propping your upper body up on your elbows and forearms. Slowly lower your lower abdomen onto the peak, keeping your core relaxed. Do not drop your entire weight onto the rigid point at once.
- Breathe and hold steady. Inhale slowly through your nose and exhale fully through your mouth, letting your pelvis sink. Stay in any given position for 5 to 60 seconds as the PSO-RITE listing recommends, while heeding the Optimized Athletics caution against holding pressure for long periods on the psoas. Keep the tool completely still; do not grind or roll vigorously on deep abdominal tissue.
- Dismount and switch sides. Use your forearms and knees to press your torso upward, lifting your pelvis completely off the peak. Rest flat on your back before repeating the process on the opposite side.
Psoas release tools worth comparing
These are scored on the Chill Score, which weighs performance 35, build 25, value 25, safety certifications 10 where it applies and warranty 5. Because none of these manual massage tools list third-party safety certifications or formal warranty terms, all four score 0 for safety and warranty.
| Product | Chill Score | Perf. /35 | Build /25 | Value /25 | Safety /10 | Warranty /5 |
|---|---|---|---|---|---|---|
| Thrival Wave | 9.6 | 30 | 21 | 20 | n/a | 0 |
| PSO-RITE | 9.6 | 28 | 22 | 20 | n/a | 0 |
| RAD Roller | 9.6 | 27 | 21 | 21 | n/a | 0 |
| Optimized Athletics | 9.4 | 24 | 19 | 19 | n/a | 0 |
Scores run from 9.2 to 9.8: each product’s point total is placed on that range, so more points always means a higher score. Safety counts only for powered gear or where the listing states safety features; where it does not apply, the score is taken over the remaining 90 points.
For other targeted recovery devices, explore our best trigger point massagers and best massage balls roundups.
Safety guidelines and pressure control
- Start with forearm support. Never drop your full body weight directly onto a rigid plastic peak. Use your elbows, forearms, and bent knees to regulate pressure gradually.
- Respect session limits. Follow stated maker guidelines: the PSO-RITE listing recommends 5 to 60 seconds per position, while Optimized Athletics suggests 20 seconds when working on back muscles and warns against long pressure on the psoas.
- Breathe steadily. Tensing your abdominal muscles blocks the tool from reaching the deep psoas. Inhale slowly and exhale as you sink into the point.
- Never press on pulsing areas. If you feel a rhythmic pulse under the tool, you are on a major blood vessel such as the abdominal aorta. Lift off immediately and shift the position outward toward the hip bone.
- Consult a doctor first. As noted on the PSO-RITE listing, always consult a clinician before using a massage apparatus, particularly if you have abdominal, digestive, or spinal conditions.
Common mistakes
- Placing the peak directly on the navel or midline where major blood vessels run.
- Tensing the stomach muscles against the tool instead of exhaling and relaxing.
- Remaining on a single spot for several minutes instead of the 5 to 60 seconds recommended by PSO-RITE.
- Using a rigid plastic peak directly over the hip bone or lower ribs.
- Assuming manual tools provide electrical percussion or heat because of inaccurate spec tables.
Common questions
How do you position a psoas release tool?
Lie face down on a firm floor with your forearms supporting your upper body. Place the tool’s peak just inside your hip crest between the pelvic bone and your navel. The PSO-RITE listing advises using one peak at a time so you can address each hip flexor individually without slipping.
How long should you stay on a psoas release tool?
The PSO-RITE listing states that the recommended amount of time to stay in any given position is 5 to 60 seconds. Optimized Athletics recommends 20 seconds when working on back muscles and advises against excessive pressure on the psoas. Start with short intervals and lift off if you feel sharp pain or numbness.
Can you use a psoas release tool on other muscles?
Yes. Maker listings indicate these tools work across multiple muscle groups, including the hamstrings, glutes, calves, and lower back. The RAD Roller listing highlights over 20 targeted uses, while Thrival includes manual routines for neck and spine decompression. Always position the tool away from bony prominences and major arteries.
Is a psoas release tool supposed to hurt?
Deep tissue compression can feel intense or uncomfortable as tight hip flexors respond to pressure. However, you should never experience sharp, radiating, or pulsing pain while using the tool. Thrival notes that releasing tight muscles can be uncomfortable, which is why makers recommend easing into positions using forearm support.
What is the difference between an adjustable board and a fixed wedge?
A fixed wedge like the PSO-RITE features two rigid peaks molded at a permanent 6.3 inch distance, providing a solid one-piece tool with no moving parts. An adjustable model like the Thrival Wave allows you to move individual attachment heads across five positions per side and swap between hand, elbow, and thumb shapes. Fixed wedges offer simpler one-piece durability, while adjustable boards allow repositioning for different muscle groups.
Sources: Amazon product listings for the recovery tools named above, collected 9 October 2026. Related: our best trigger point massagers and peanut massage ball for back.
Back to all recovery tools reviews.